Getting Started
The Plugin exposes a vereity of actor components, which can be used to generate data from the virtual world inside the Editor. The following will explain how to capture images data from within level.
First open a level of your choice inside the unreal Editor.
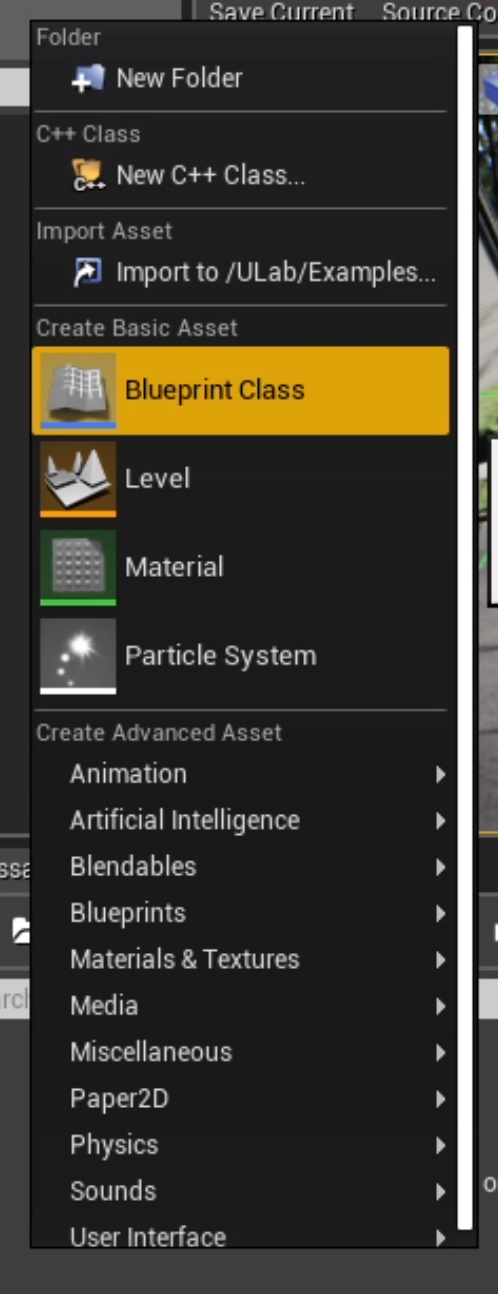
After that right click in the content browser to create a new Blueprint and choose Actor as base class.
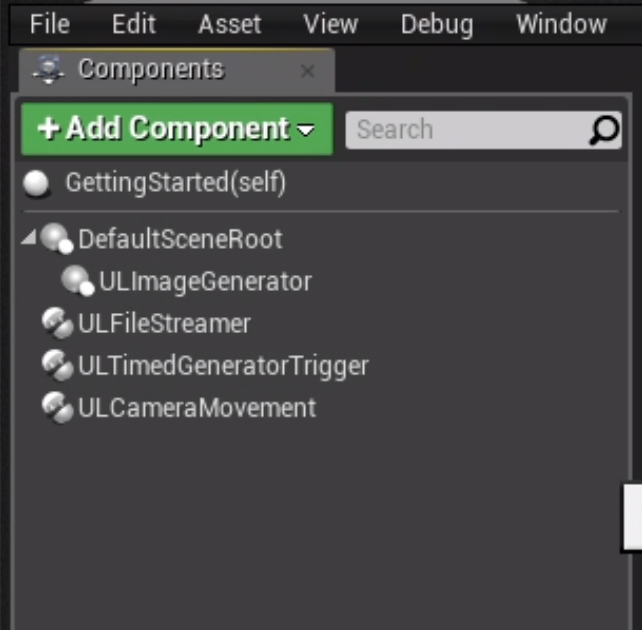
Open the created Blueprint in the editor. and add the following components to your created Blueprint:
ULImageGenerator, ULFileStreamer, ULTimedCaptureTrigger and an optional ULCameraMovement
Component Configuration
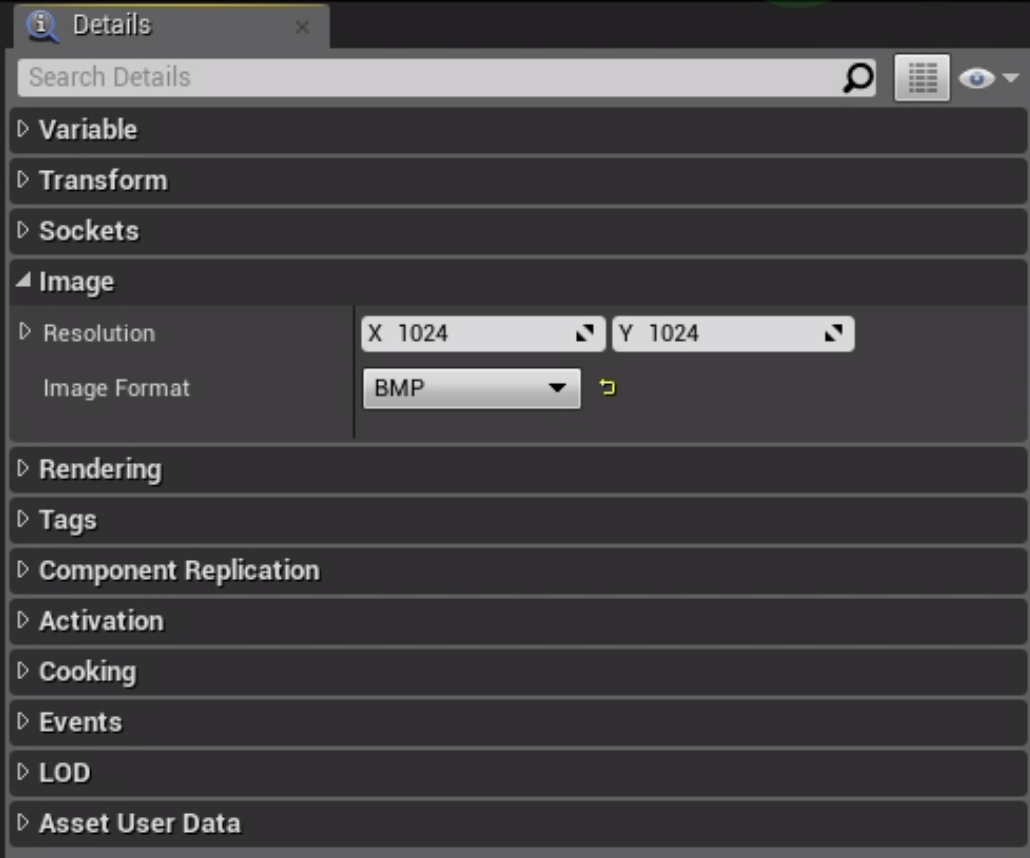
ULImageGenerator
The Image generator is responsible for generating pixel data from the scene.
You can configure the resolution and output image format.
We use BMP as format in this example since it doesn’t require CPU heavy compression.
Keep in mind that multiple image generators or high resolutions will degrade your performance at runtime, because each image generator requires it’s own render pass.
ULFileStreamer
A Streamer component streams generated Data. In this case the generated image will be streamed into a file.
To link the streamer with a generator select the image generator from the dropdown.
Due to a limitation the dropdown will only list components after the blueprint was compiled, so if your ImageGenerator doesn’t show up at first hit compile at the top and retry.
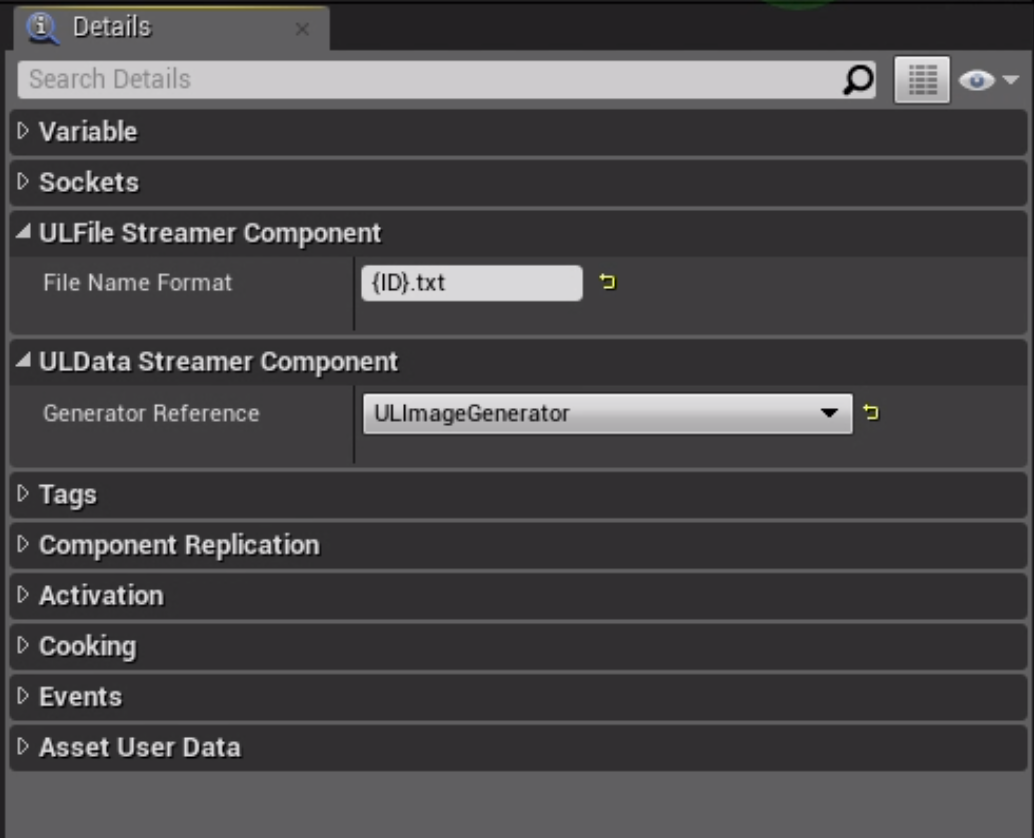
You can also set the naming convention for the created files.
You have access to {ID} and {Time} as variables.
The files are stored inside your Projects Saved Directory in the UnrealGT folder.
ULTimedCaptureTrigger
This component is responsible for triggering Data generation. Generators that should be triggered by this component, must be added to the Data Generators Array. Here we add our image generator to the Array.
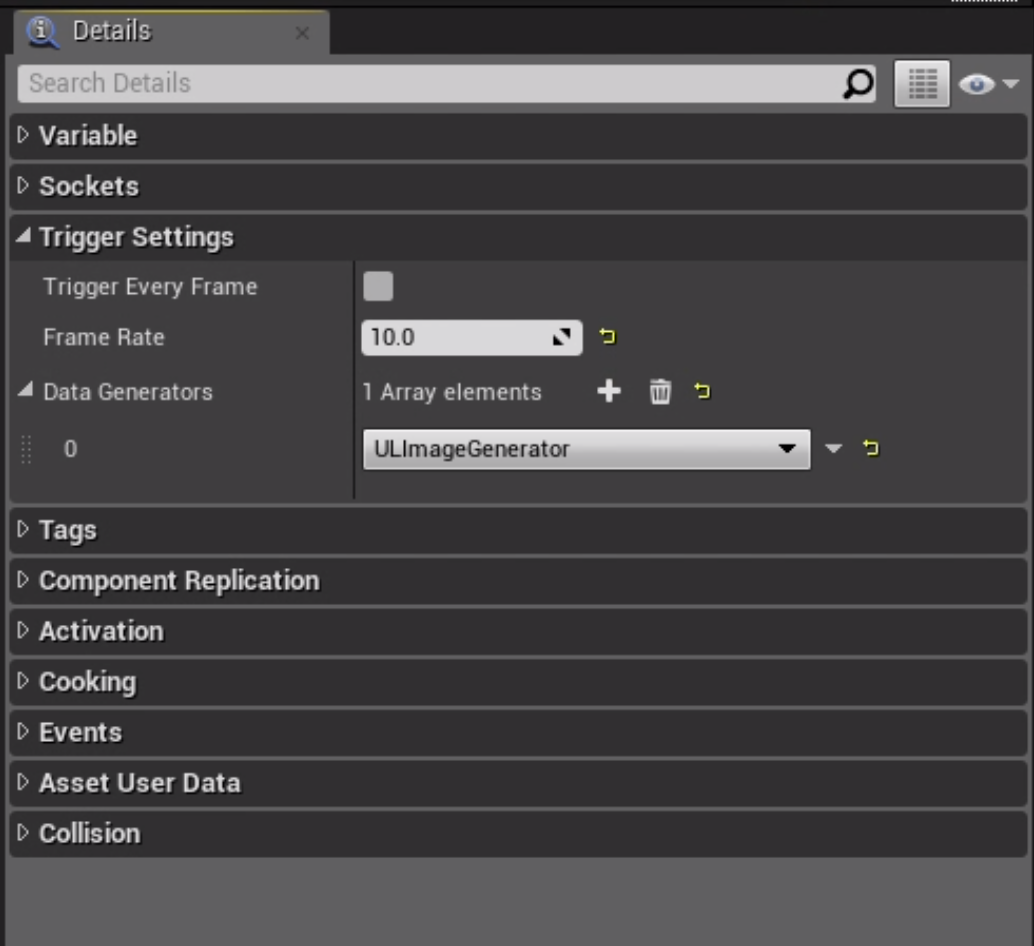
Generation is triggered at a fixed time interval which can be modified by changing the Frame Rate parameter 1/framerate = time between images in seconds.
Be careful with high frame rates as those will heavily degrade performance.
ULCameraMovement (optional)
If you don’t want to capture at a fixed location you can add a CameraMovementComponent to your blueprint. This component will add some basic movement capabilities to your Blueprint/Actor, which can be configured in the properties tab.
We choose the default Follow Main View as movement mode. (TODO movement mode will be an enum in the future update image)
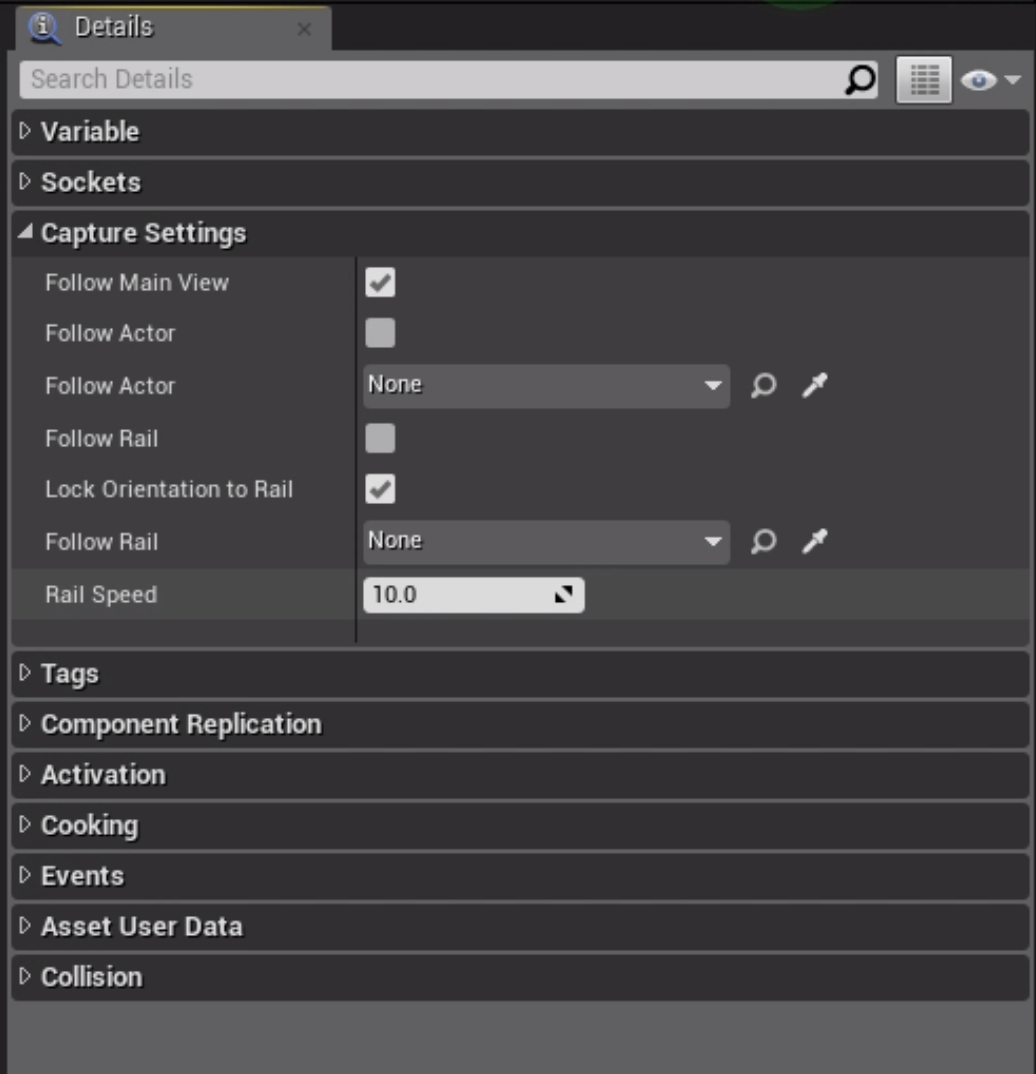
Follow Main Viewwill follow your main viewport camera/playerFollow Actorwill follow a actor, this actor can only be selected after the Blueprint has been placed in a levelFollow Railwill follow a camera Rail Actor, you can configure the speed at which our Blueprint Actor will follow the rail.
Tutorial for camera rails: https://docs.unrealengine.com/en-us/Engine/Sequencer/HowTo/CameraRigRail you can skip 2-3. and 9.-16, we will use our blueprint as cine camera instead and the movement a long the rail is handled by this component not the sequencer.
First Test
Once you configured your components save and compile your blueprint.
Drag and drop your blueprint from the content browser into the scene. You should see a camera indicating the direction your ImageGenerator is going to record.
Start the simulation and images should get generated in your projects Saved directory under UnrealGT.
Examples
You can find the Blueprint described in this Tutorial and additional examples in https://github.com/lolleko/UnrealGT/tree/master/Content/Examples.
To view the examples in the editor enable “Show Plugin Content” in the content browser’s view options.
To get familiar with the Plugin place the example actors in a map open the debug window as described in /basics/debugging-generation/ and write the examples name in the text box.